
The ticket section is always at the bottom of the Event page.
Add Tickets
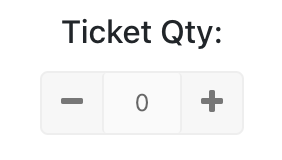 | Each ticket type has a ticket selector like this. Click the + or – buttons to add or remove tickets one at a time. If you want to add say 6 tickets, just enter 6 into the numerical field. |
  | If offered by the event manager, you may see a ‘Bulk Registration’ button at the top of the ticket section. This is useful for large groups like choirs or clubs to enable fast bulk entry of names from a spreadsheet or word document. Grey, is OFF, Green is ON. |
Each ticket you add creates a new registration field where you must enter the requested data. If Bulk Registration is an option then the data from the first ticket can be used as a template and copied to all the following tickets to speed up the registration process. You can always change these fields after they have been filled in.
Bulk Registration
If enabled you will see the following popup when you click the + Add Ticket button.
| You can manually enter the names for each ticket into the box, separating each one with a comma, or you can paste them from a spreadsheet. Commas will be automatically inserted when pasting. | |
 or
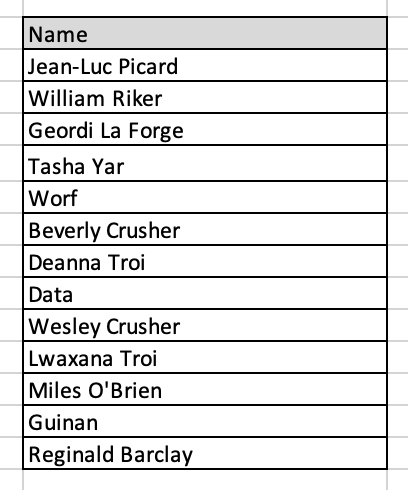
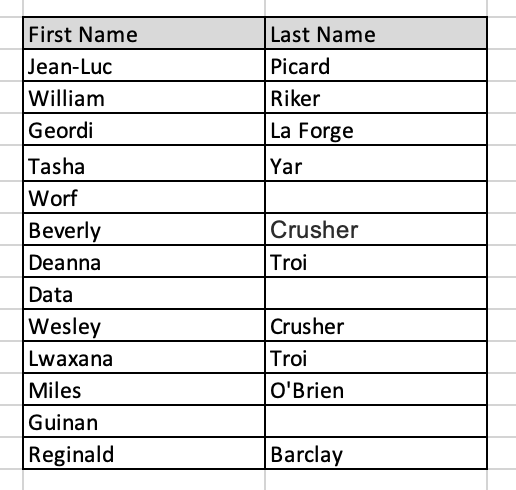
| When copying names from a spreadsheet make the names ‘Firstname Lastname’ as that is what most people are using. The names can be either in a single cell or multiple cells as shown here. The important thing is that the names are on separate lines. |
 | Select and copy the names you want to create tickets for (don’t copy the header!) then paste them into the box. You will see that commas are automatically inserted. Click ‘Create Tickets’ to go ahead and create them. |
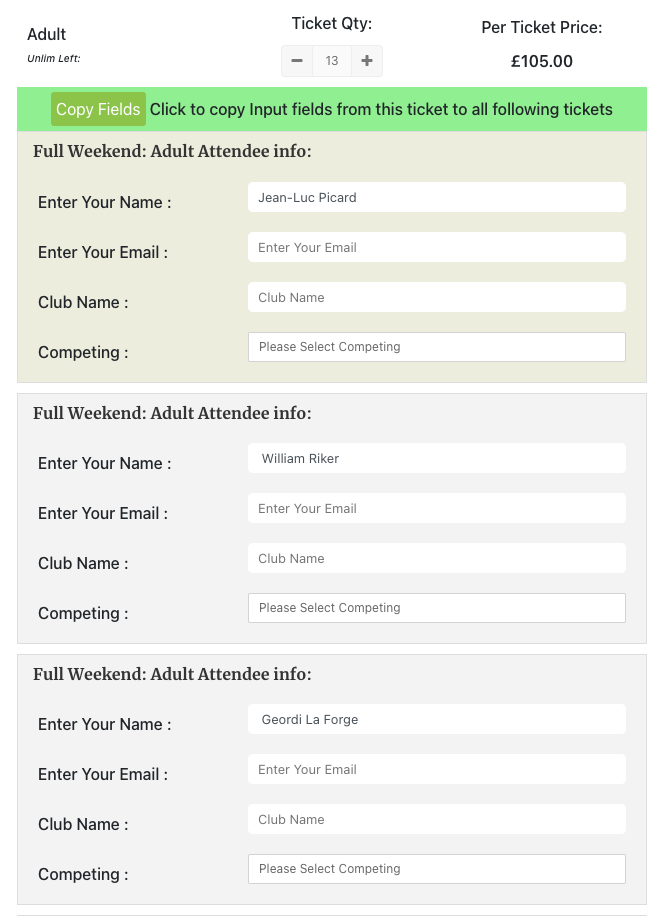 | Tickets will then get created with all the names filled in from the list supplied. If there are further registration questions then just fill in the first ticket fields and these will be copied to all the following tickets of that type. You can edit any of the fields to make them unique, but note that if you change the first ticket fields they will get overwritten again. |
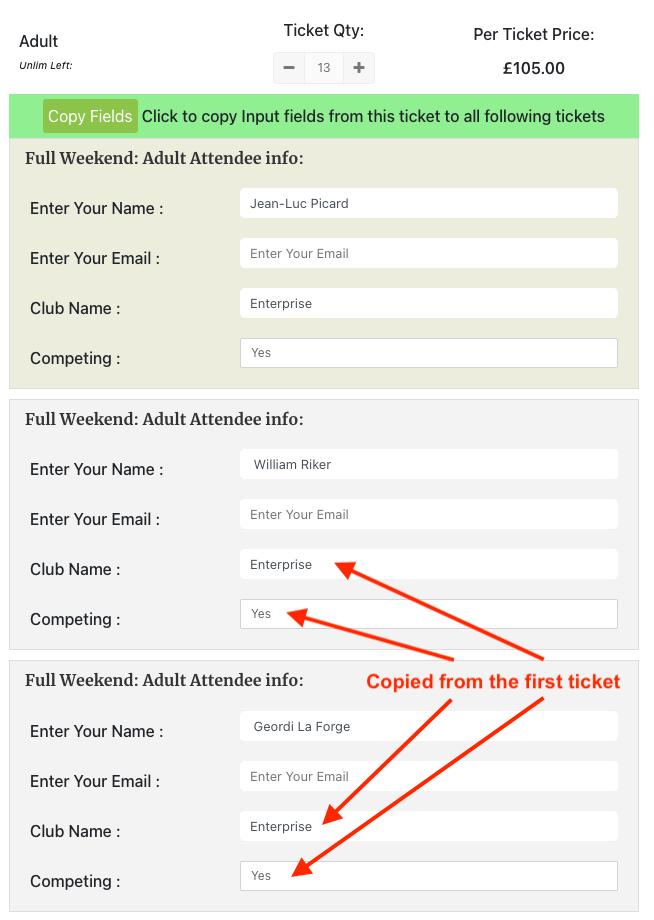 | To copy data from the first ticket click the ‘Copy Fields’ button in the header of the first ticket then confirm the request. Here the first ticket fields have been completed and you can see that the data has been copied to the following tickets. NOTE: Data is only copied to tickets in this ticket-type (Adult). If there are other ticket types available they will have their own Copy Fields button. |
Once you have added all the tickets you need and filled in the required registration fields, you can add the tickets to the cart by clicking the green ‘Tickets’ button at the bottom of the page.
The rest of the checkout process is like any other online shop.
You will receive an email confirmation of your order when checkout is complete.