
NEW Site
NEW Site
Stripe
2 min read
Setup #
To enable Stripe payments tick the Stripe Gateway option and fill in the following keys:
- Stripe Publishable Key, this starts pk_live_xxxxxx
- Stripe Restricted Key, this starts rk_live_xxxxx
NOTE: if you see this key as rk_live…..xxxx with dots in it, that’s NOT the key, it means you haven’t revealed the real actual key yet. There should be no ‘….’ in the key.
You need to log into your Stripe account Dashboard to find your Stripe keys.
- Sign in to your Stripe account.
- In your dashboard, put “API keys” in the search box and select the option Developers -> API Keys
- On the “API keys” page, you can find both your publishable and restricted keys. However, to reveal your restricted key, click the “Create Restricted key” button.
- To copy the keys you can click them which will add them to the clipboard. You can then paste them into the appropriate Snappy box in the Stripe settings. Do NOT try and copy the keys a character at a time. This is very time consuming and will most likely lead to errors. You need to copy and paste the codes from Stripe to Snappy.
- When you create a restricted key select ‘Provide this key to another website‘ and it will then ask you for the website name and the website address. Use the default permissions (leave customise permissions unticked).
- Website name: Snappy Tickets
- Website address: https://snappytickets.co.uk/
- Make sure you copy the restricted key before closing the window as you can only view it once.
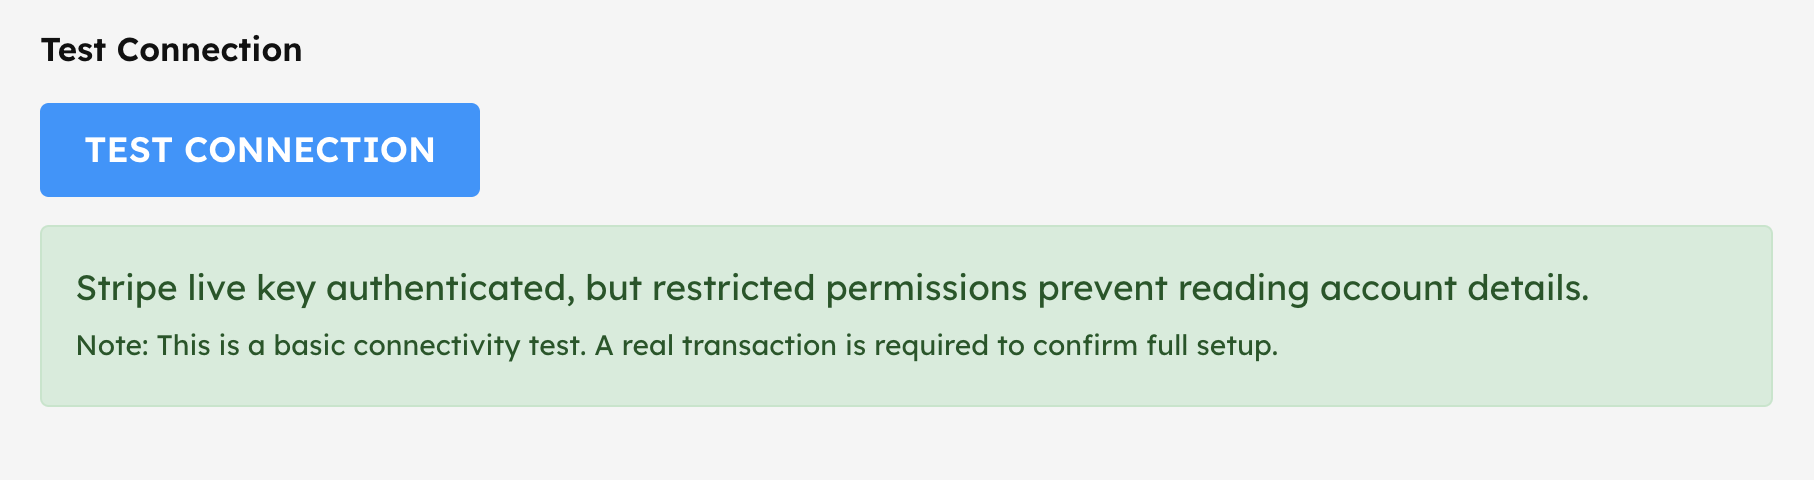
Test Connection #
Once you have configured your Stripe keys you can test the connection by clicking the TEST CONNECTION button. If all is well then you will see the following message.
Payments #
When a buyer pays via Stripe the order will complete immediately and payment will appear in your Stripe account straight away. There is no further admin for you to do. A completion confirmation email is sent to the buyer.
If you need to refund the payment then log into your Stripe account, find the order, and select the refund button. You will then need to find the order in the Snappy Tickets order table and set the status to cancelled.
NOTE: Stripe does not refund their fee when you refund a customer’s order.


Powered by BetterDocs